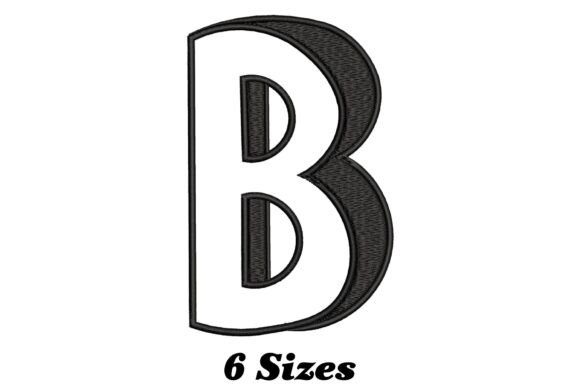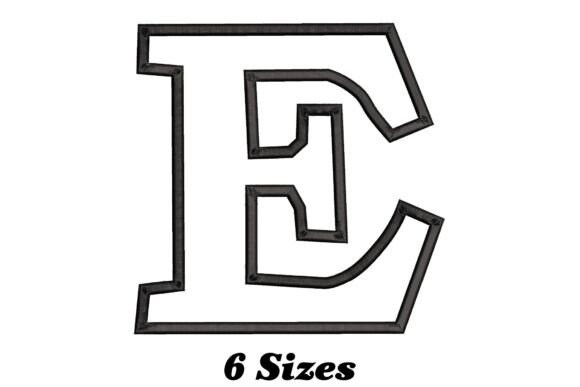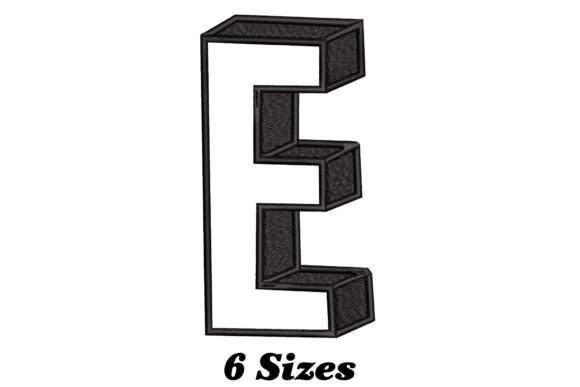
Stylish Letter E: Elevate Your Embroidery Projects with Confidence
There is a distinct satisfaction in transforming a plain piece of fabric into something personal and polished. Whether you are monogramming a set of bath towels, adding a custom logo to a team t-shirt, or creating a whimsical accent for home decor, the details matter. The Stylish Letter E design offers exactly that kind of detail. It is not just a block letter; it is a charming, whimsical character that brings immediate personality to any item. However, even the most beautiful digital design can fail if the execution is rushed or misunderstood. Many creators overlook the nuances of digitization, stabilizer choice, and hoop tension, resulting in pucker, skipped stitches, or a final product that looks nothing like the preview image.
This guide cuts through the noise to help you get the best possible results from this embroidery pattern. We will explore what makes this specific letter design unique, identify common pitfalls that plague both beginners and seasoned professionals, and provide actionable steps to ensure your project succeeds on the first try.
Understanding the Appeal of Stylish Letter E
The Stylish Letter E stands out because it balances legibility with artistic flair. Unlike standard font files that often lack texture or depth, this machine embroidery design incorporates curves, flourishes, and density variations that mimic hand-stitched elegance. This makes it an ideal choice for projects where the initial letter needs to be the focal point. Think of personalized baby blankets, luxury spa robes, or branded merchandise for small businesses looking to stand out on a shelf.
For entrepreneurs and freelancers, the versatility of this design is its greatest asset. Because it comes in multiple file formats, it bridges the gap between different hardware ecosystems. You don't need to worry about compatibility issues slowing down your workflow. Whether you are using a domestic hobbyist machine or a multi-head commercial setup, the design is engineered to translate well across platforms. This flexibility allows you to pivot quickly between client requests without investing in new software or converting files manually.
Common Pitfalls When Using Alphabet Embroidery Designs
Despite the high quality of the source file, several mistakes frequently occur during the production phase. These errors often stem from a lack of preparation rather than a flaw in the design itself. Recognizing these issues early can save you time, thread, and fabric.
Ignoring Fabric Tension and Stabilizer Needs
One of the most frequent oversights is treating all fabrics as if they have the same weight and stretch. The Stylish Letter E features intricate curves and potentially dense fill areas. If you attempt to embroider this on a thin jersey knit or a delicate linen without the appropriate stabilizer, the fabric will pull and pucker around the letter. The result is a distorted shape that loses its "stylish" appeal.
The Correction: Always test your stabilizer choice before committing to the final garment. For knits, a tear-away or cut-away stabilizer applied to the back is essential to prevent stretching. For heavier items like towels, a water-soluble topping might be necessary to keep loops from sinking into the pile. Do not skip the stabilization step; it is the foundation of a crisp finish.
Mismatching Thread Weight and Needle Size
Another subtle error involves the hardware used to stitch the design. Using a needle that is too large for fine details can cause thread breakage or visible holes in the fabric. Conversely, using a needle that is too small for heavy threads can lead to fraying and skipped stitches. The whimsical nature of the Stylish Letter E requires precision. If the needle size is incorrect, the delicate lines may appear jagged or uneven.
The Correction: Match your needle to your thread weight. For standard 40-weight polyester thread, a size 75/11 or 90/14 needle is typically ideal. Ensure your bobbin thread is compatible as well. A mismatch here can ruin the visual balance of the letter, making it look amateurish regardless of how good the design file is.
Overlooking File Format Compatibility
While the design package includes multiple formats, users sometimes download the wrong one for their specific machine. This leads to conversion errors where stitch counts change, colors shift, or the design fails to load entirely. It is a frustrating waste of time that could be avoided with a quick check.
The Correction: Before downloading, verify the native file format supported by your embroidery machine. Most modern machines accept standard industry formats, but older models or specific brands may require proprietary extensions. Download the version that matches your machine directly to avoid unnecessary software conversion, which can sometimes alter the stitch path.
Strategic Planning for Better Results
To truly maximize the potential of the Stylish Letter E, you need a strategy that goes beyond simply hitting the "start" button. Consider the context of your project. Are you creating a single custom gift or producing a batch of fifty? The approach differs significantly.
- Placement Matters: On a t-shirt, placing the letter too close to a side seam can cause distortion when the garment is worn. Center chest or left pocket placement usually yields the cleanest look. For towels, consider the weave direction to ensure the letter sits flat.
- Color Theory: The whimsical style of this letter benefits from contrast. Avoid matching the thread color too closely to the fabric background unless you are aiming for a tonal, textured effect. High-contrast combinations make the curves pop and enhance the readability of the design.
- Hoop Technique: Hoop the fabric tightly but not so tight that it distorts the grain. If you are working with a finished item like a pillowcase, use a floating technique with plenty of spray adhesive to hold the layers together securely.
Evaluating Quality Before You Commit
Before purchasing or using any embroidery design, including the Stylish Letter E, take a moment to evaluate the stitch count and dimensions. A design that is too small for your intended application may lose its definition, while one that is too large might overwhelm the item. Check the preview images carefully. Look for smooth transitions in the fills and clear separation between satin stitches.
If you are a business owner, consider the cost implications. Time spent troubleshooting a bad hooping job or re-doing a failed run eats into your profit margin. Investing time in a proper test run on scrap fabric is a corrective measure that pays dividends. It ensures that when you present the final product to a client or family member, it meets professional standards.
Ultimately, the goal is to create something that feels special. The Stylish Letter E provides the artistic element, but your attention to detail provides the quality. By avoiding common mistakes regarding stabilization, needle selection, and file management, you ensure that the charm of the design shines through. Whether you are a hobbyist sprucing up a home or a professional delivering a brand identity, these practical steps will help you achieve consistent, high-quality results every time.